Steps: Wet clay, air dried, fired the first time bisc fire, then glaze applied, then fired a second time, bottoms sanded
Microwave and dishwasher safe!
Finished Steps:
- Shaping the Clay
The journey begins with raw clay that is carefully worked on the potter’s wheel. The artist moistens the clay to make it malleable, then expertly forms it into functional shapes like mugs, bowls, jars, and more. This step is all about precision, as the shape is built by hand to ensure each piece is balanced and well-crafted. - Air Drying
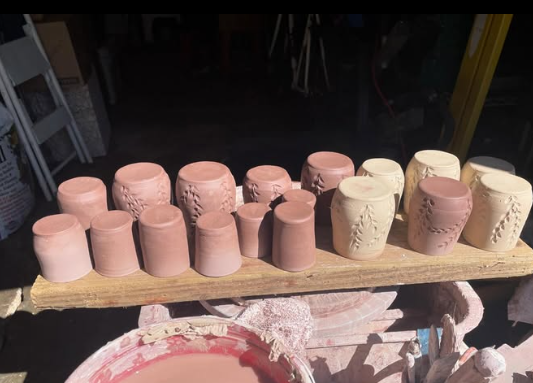
Once the item is shaped, it’s carefully set aside to air dry for 24-48 hours. This drying process is essential for removing excess moisture from the clay before it undergoes its first firing. During this stage, the pottery takes on a firm, dry texture, but it remains vulnerable to cracking or warping, so we take great care to let it dry at a natural pace. - Bisque Firing
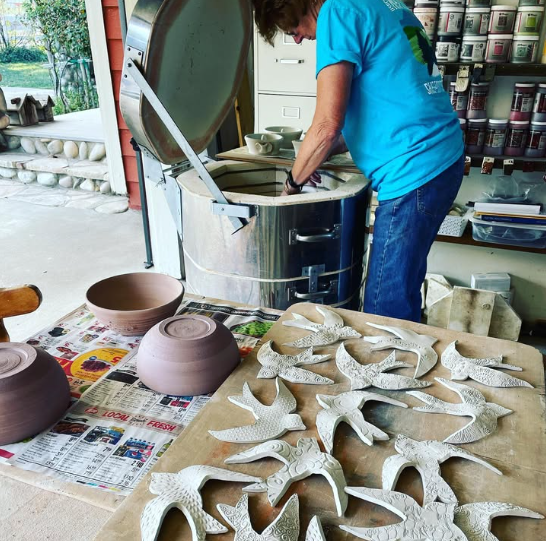
Once the pieces are fully dry, they are placed in the kiln for their first firing—known as the “bisque” firing. This high-temperature process transforms the clay from a fragile, raw state into a durable, hardened form. At this stage, the pottery still lacks any glaze or color but is now ready for decoration. - Applying the Glaze
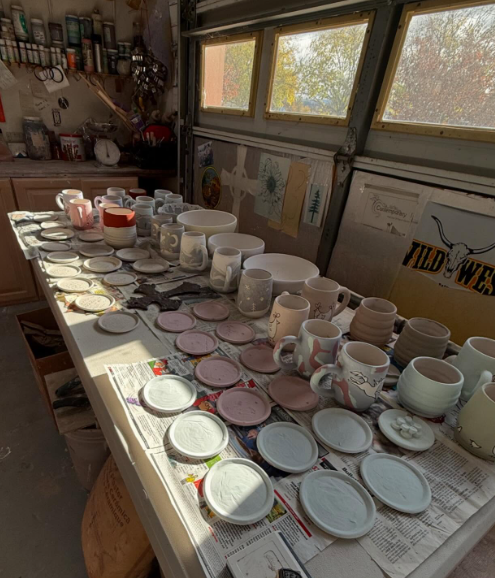
After the bisque firing, the pottery is ready to be glazed. We carefully hand-apply the glaze to each piece, selecting colors and textures that highlight the natural beauty of the clay and enhance its functionality. The glaze not only gives each item a unique finish but also adds a layer of protection, making the pottery more durable and easy to care for. - Final Firing
The glazed pieces are then returned to the kiln for a second, higher-temperature firing. This is where the magic happens—the glaze melts and bonds to the pottery, transforming the surface into a smooth, glossy, or matte finish depending on the desired outcome. The pottery now has its final look and is fully functional and food-safe. - Sanding for a Polished Finish
To ensure that each piece is as refined as it is beautiful, we finish by carefully sanding the bottoms and, in some cases, the tops of the pieces. This smooths out any rough edges and ensures that your new pottery won’t scratch or damage surfaces when used. It’s the final touch that makes each piece ready for your home.
Each of these steps is part of a time-honored craft, focused on both functionality and artistry. The result is pottery that’s not just beautiful but also durable and made to last in your kitchen and pantry for years to come.